How to Create High-Converting Countdown Timers for Campaigns
Countdown timers are one of the most effective tools for creating urgency and driving conversions in marketing campaigns. When used correctly, they can significantly increase sales and engagement. In this guide, we’ll show you how to create high-converting countdown timers using Countdown Timer Pro.
Why Countdown Timers Work
Countdown timers leverage psychological principles to drive action:
- Scarcity: Creates a sense of limited availability
- Urgency: Encourages immediate action
- FOMO (Fear of Missing Out): Motivates customers to act before time runs out
- Visual Impact: Draws attention to time-sensitive offers
Best Practices for Countdown Timers
1. Set Realistic Deadlines
Effective countdown timers use real deadlines that customers can verify. Avoid fake urgency that erodes trust. Use actual:
- Sale end dates
- Event start times
- Limited-time offer expiration
- Early bird pricing deadlines
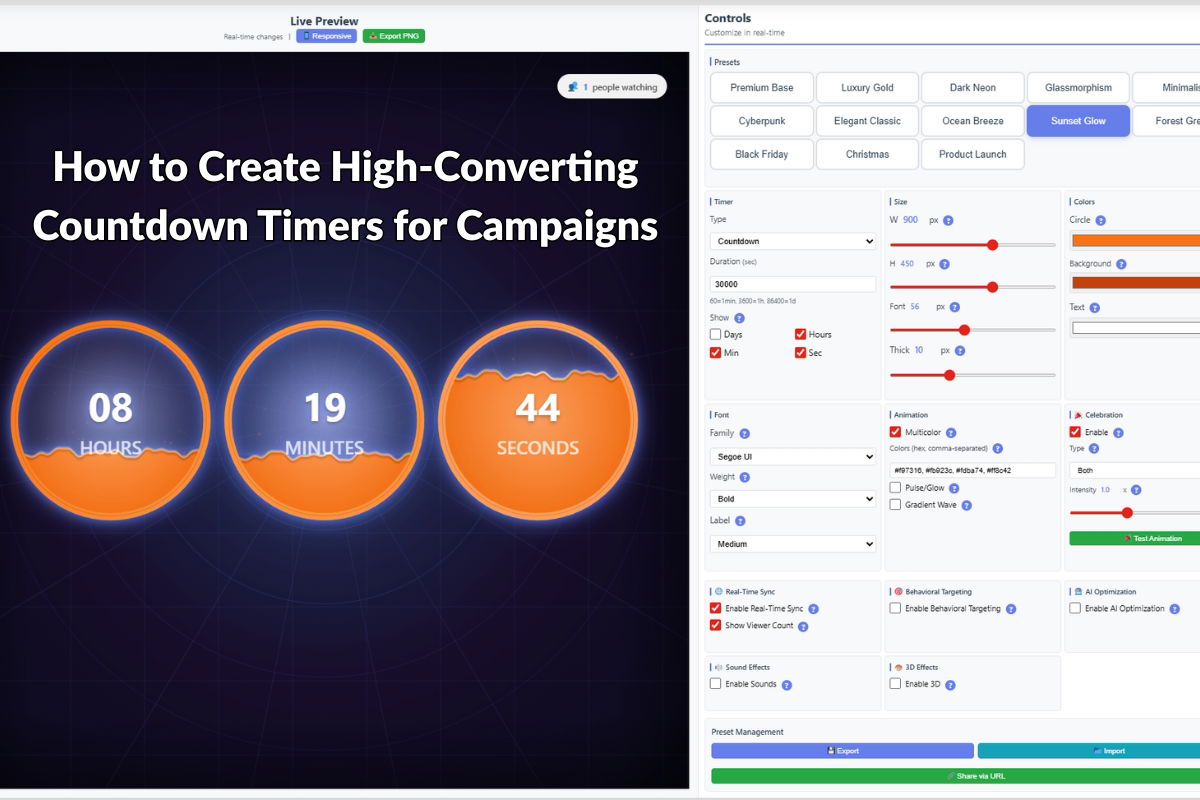
2. Choose the Right Design
The visual design of your countdown timer should:
- Match your brand identity
- Be clearly visible without being intrusive
- Use colors that convey urgency (red, orange) or trust (blue, green)
- Be mobile-responsive
3. Place Timers Strategically
Position countdown timers where they’ll have maximum impact:
- Above the fold on landing pages
- Near call-to-action buttons
- In email campaigns
- On product pages for limited-time offers
Creating Countdown Timers with Countdown Timer Pro
Step 1: Install and Configure
Countdown Timer Pro offers multiple timer styles and customization options. After installation:
- Navigate to the timer settings in WordPress admin
- Choose a timer style that fits your campaign
- Set the target date and time
- Customize colors, fonts, and layout
Step 2: Add to Your Pages
Countdown Timer Pro provides multiple integration methods:
- Shortcode: Add timers anywhere using simple shortcodes
- Widget: Place timers in sidebars or widget areas
- Gutenberg Block: Use the block editor for easy placement
Step 3: Test and Optimize
Before launching your campaign:
- Test timers on different devices and browsers
- Verify countdown accuracy
- Check mobile responsiveness
- Ensure timers don’t slow down page load times
Advanced Techniques
Multiple Timers for Different Time Zones
For global campaigns, consider displaying different countdown times based on user location. This ensures accuracy and builds trust.
Dynamic Messaging
Change timer messages based on time remaining:
- “24 hours left!” when less than a day remains
- “Last chance!” in the final hours
- “Extended!” if you decide to prolong the offer
A/B Testing
Test different timer designs and placements to find what works best for your audience:
- Timer styles (circular, linear, digital)
- Color schemes
- Placement locations
- Message copy
Common Mistakes to Avoid
- Fake Urgency: Don’t use countdown timers for products that aren’t actually time-limited
- Poor Mobile Experience: Ensure timers are readable and functional on mobile devices
- Overuse: Too many timers on a page can reduce their effectiveness
- Ignoring Time Zones: Always account for different time zones in global campaigns
Measuring Success
Track these metrics to measure countdown timer effectiveness:
- Conversion rate increase
- Time spent on page
- Click-through rates
- Sales during timer-active periods
Conclusion
Countdown timers are a powerful tool for driving conversions when implemented correctly. Countdown Timer Pro provides all the features you need to create effective, high-converting timers for your campaigns.
Ready to boost your campaign conversions? Get Countdown Timer Pro and start creating compelling countdown timers today.
Leave a Reply